Photos illustrate the product type.
Layout Set for the Mounting Template: Tape Measure, Markers and Painter's Tape
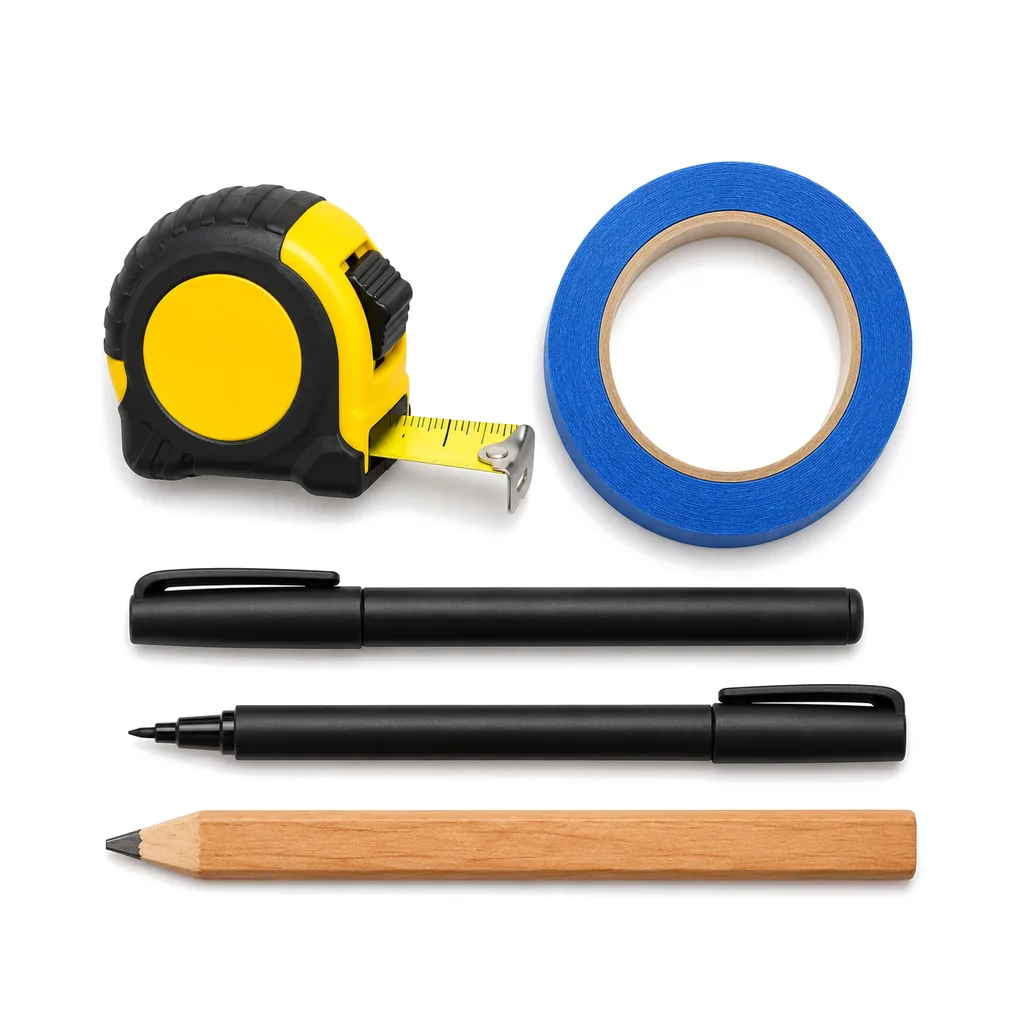
A tape measure, markers, a carpenter's pencil and painter's tape to place the full-size paper template, hold it on the wall and mark every hole.
About Layout Set for the Mounting Template: Tape Measure
Every sign we make ships with a full-size (1:1) paper template that shows where each letter goes and where to drill. This set has what you need to put that template in the right place and turn it into marks on the wall.
The set contains:
- A 25 ft tape measure.
- Two fine-tip permanent markers.
- A carpenter's pencil.
- A roll of 1.5 in painter's tape.
Read more
How the layout goes:
- Place it. Your drawing shows where the sign sits on the wall. Measure from the edges of the wall, the windows or the door to the same points, and make light marks.
- Hang it. Tape the template flat to the wall with the painter's tape. It holds the paper without pulling paint or leaving residue when it comes off. Use plenty of strips on a long template so it does not sag in the middle.
- Level it. Check the template with a level before you mark anything.
- Check it. Step back, or cross the street, and look at the spelling, the spacing and the height.
- Mark the holes. Mark every stud hole through the template with a marker or the pencil. On lit letters, mark the power lead hole too.
- Take it down and drill. Drilling is cleaner and more accurate on the bare wall. Keep the template: it helps if you ever re-hang the sign.
Marker or pencil? The markers show up well on brick, stucco and concrete and stay visible while you drill. The pencil leaves a lighter mark on a painted indoor wall and works well on wood. Either way, the hole marks end up behind the letters.
On rough brick or stucco, brush off the dust where the tape goes so it grips, and add extra strips.
The rest of the install needs a level, drill bits for your wall and silicone to seal the holes. We sell each of those on its own, so you only buy what you are missing.
How to choose
This set is for you if you are putting the sign up yourself and do not already have these basics in your toolbox. If a handyman is doing the work, ask what they bring; the painter's tape is the part that matters most for holding the template.
Before you start, have the drawing we sent and the template in hand. Note the distances on the drawing from the sign to the edges of the wall, the windows or the door, so you know what to measure.
If the wall is longer than the 25 ft tape, measure in steps and mark as you go.
For a long sign, pair it with the self-leveling cross-line laser; for a short one, the torpedo level is enough.
Layout Set for the Mounting Template: Tape Measure specifications
| Tape measure | 25 ft |
|---|---|
| Markers | Two fine-tip permanent markers |
| Pencil | Carpenter's pencil |
| Painter's tape | One roll, 1.5 in wide |
| On the wall | The tape holds the template without pulling paint or leaving residue |
| Works with | The full-size (1:1) paper template that ships with every sign |
| Use | Place the template, hold it on the wall and mark every hole |
| SKU | MT-LAYOUT |
Questions
Is the paper template included?
The template comes with your sign, not with this set. Every sign we make ships with a full-size (1:1) paper template and its mounting hardware.
Will the painter's tape pull paint off my wall?
It is made to hold the template without pulling paint or leaving residue. Peel it off slowly once the holes are marked.
Should I drill through the paper template?
No. Mark every hole through the template, take it down, then drill on the bare wall. The paper can tear or wrap around the bit and pull the hole off its mark.
How do I know where the template goes?
Your drawing shows where the sign sits. Measure from the edges of the wall, the windows or the door to match it, tape the template up and check it with a level.
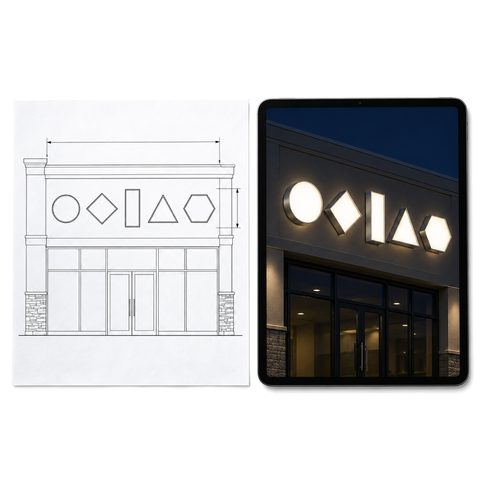 Free Sign Drawing and Lit Preview with Exact Price
You may also need
-
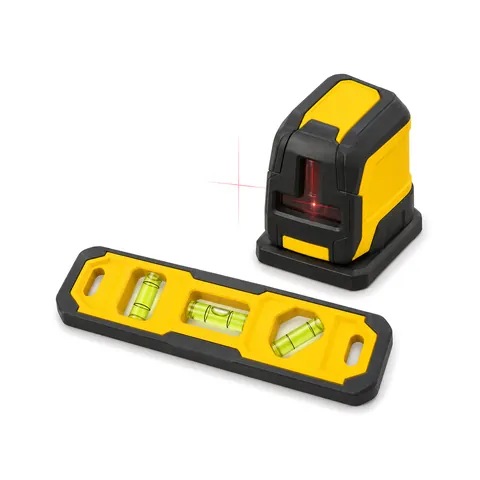
Level for Hanging Sign Letters, Magnetic Torpedo or Cross-Line Laser
Level the paper template before you mark the holes: a 9 in magnetic torpedo level, or a self-leveling cross-line laser for long signs.
From $9.99 · 2 options
-

Drill Bits for Mounting Sign Letters, Masonry or Wood and Drywall
Drill bit sets sized for the studs that ship with our signs: carbide masonry bits for brick, concrete and stucco, or bits for wood and drywall.
From $11.99 · 2 options
-
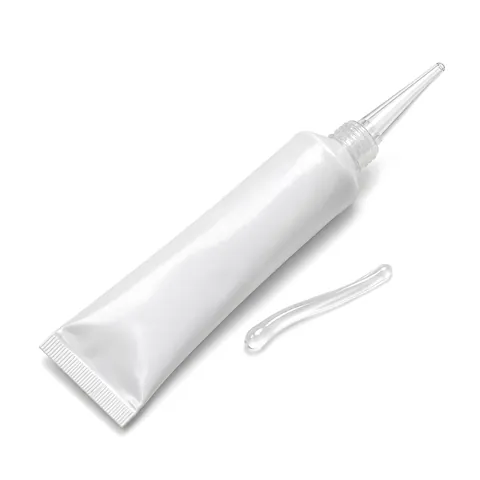
Clear Exterior Silicone for Mounting Sign Letters, Squeeze Tube
Clear 100% silicone in a squeeze tube to seal the stud holes and the power lead hole behind your sign, outdoors or indoors. No caulk gun needed.
From $8.99 · 2 options